How to Make an Origami Pelican
This is a fairly simple design, but with an impressive result. Follow all the instructions, step-by-step, and you’re sure to be pleased with the results.
Step 1:
Start with a square piece of paper and place it diagonally on the table. Fold the far left tip to the right, to form a sideways triangular shape.
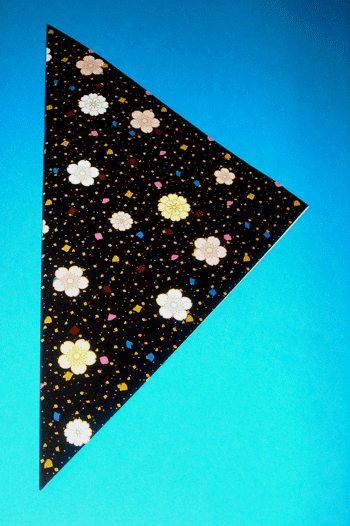
Then unfold it back to its original square shape.
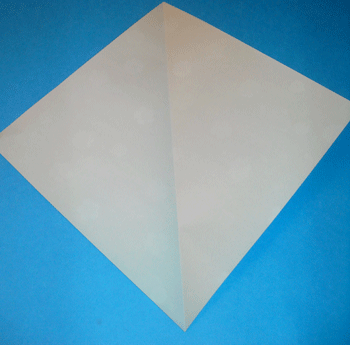
Step 2:
Next, you will fold the corner to meat in the center at the crease you’ve already made.
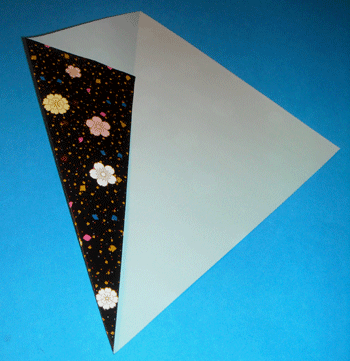
Repeat on the right side.
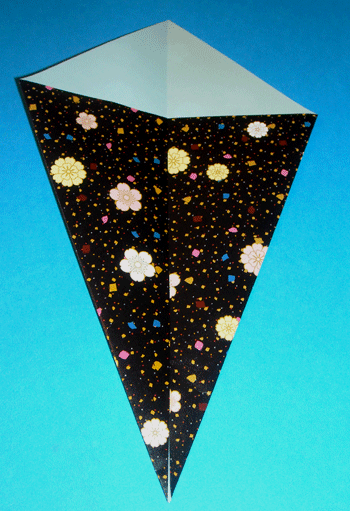
Step 3:
Next, you’re going to fold the outside corners to the center again. Do this on both the right and left side, so it looks like this.
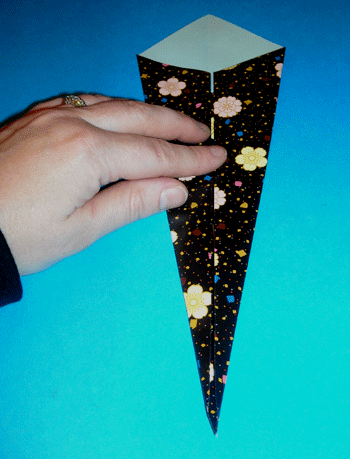
Step 4:
Now flip your paper over and fold the bottom corner all the way up to the top corner.
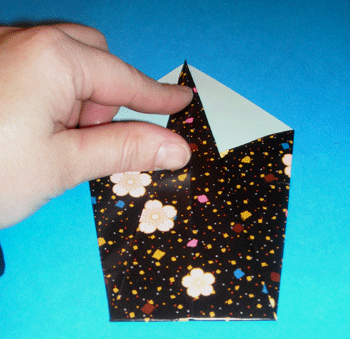
Step 5:
Now turn your paper to the side and fold the bottom to meet evenly with the top.
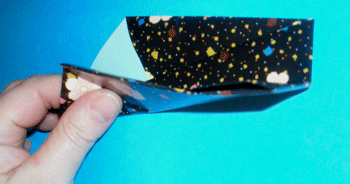
It will look like this once the fold is complete:
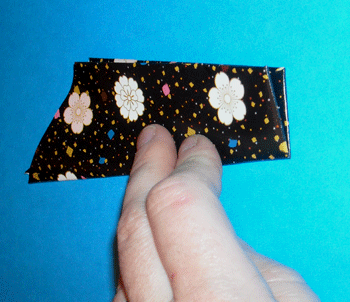
Step 6:
If you open up the top fold, you’ll see a long triangular fold inside, pull that up, as shown below. This will form the pelican’s neck and head. Press down to make a very good crease, as with all your other folds.
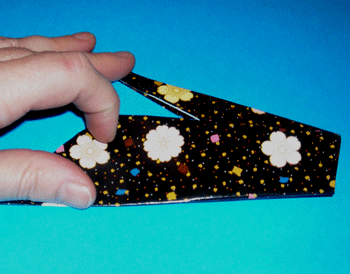
Next, fold the tip over, to form the pelican’s head and beak.
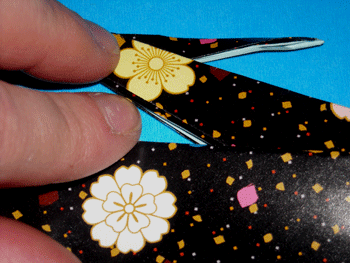
Step 7:
At the back of your model, now fold each of the wings down, as you can see below:
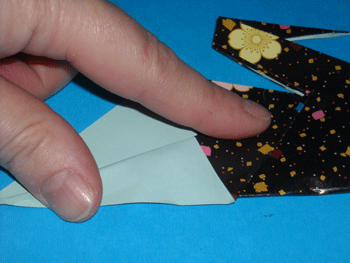
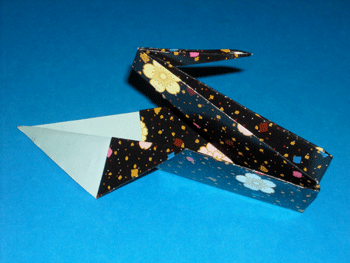
Then position the model, so it stands up and your pelican is complete.
| Pattern Categories Browse the categories to help you find the patterns you're looking for. |
||


